
VAPE FAQs
How To Clean Vape Residue Off Car Windows?
Oct
Why That Film on Your Windscreen Is More Stubborn Than It Looks
You’re driving into the low afternoon sun and suddenly the glass in front of you turns opaque—not from fog, but from a hazy, greasy film that refuses to shift no matter how hard you squint. It’s been building for weeks, a translucent smear that streetlights turn into a kaleidoscope of glare after dark. You’ve wiped it with a sleeve, maybe even run a fast-food napkin across it at a red light, but the next morning it’s back, often worse than before.
This isn’t ordinary grime. It’s the cumulative deposit left by repeated use of personal electronic devices in a confined automotive cabin, and it behaves differently to road dust, diesel soot, or fingerprint oil. Understanding that difference is the first step toward restoring clean glass—and keeping it that way without spending every weekend on detailing duty.
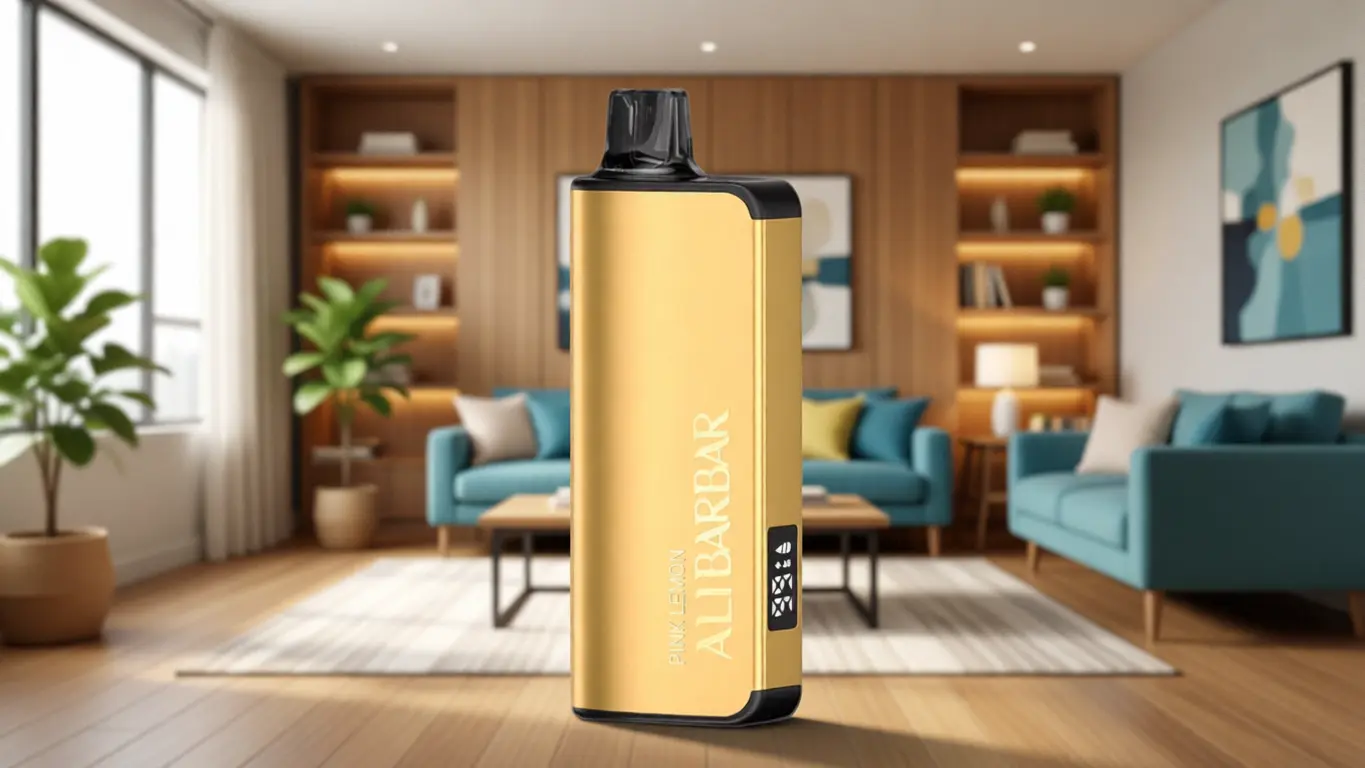
At OZVAPE Shop, we hear from experienced adult users who appreciate the consistency of well-engineered devices like the ALIBARBAR family, but find themselves facing the same stubborn residue on their windows. They want a method that works, not a list of household hacks that turn out to be chemistry experiments with disappointing results. This guide explains exactly what that residue is, why common cleaning shortcuts make it worse, and how to achieve professional-grade clarity with tools you likely already own.
The Science of Vape Residue: What It Is and Why It Clings
To remove something effectively, you need to know what you’re dealing with. The film that coats automotive glass after extended use of a portable electronic device is not simply water condensation. It is a composite layer, and its adhesion properties explain why dry cloths and standard glass cleaners fail.
Composition and Deposition
The aerosol produced by heating a solution of propylene glycol, vegetable glycerine, and flavour compounds contains microscopic liquid droplets that remain suspended in cabin air for minutes at a time. When these droplets contact cooler glass—especially a windscreen chilled by outside air or air conditioning—they coalesce and spread across the surface. The initial deposit is liquid, but over hours volatile components evaporate, leaving behind a thin, sticky film rich in hygroscopic compounds.
Why it sticks:
Propylene glycol and vegetable glycerine are humectants. Even when apparently dry, the film pulls moisture from the air, maintaining a slightly tacky consistency that traps dust and outgassed plasticisers from interior trim. This combination creates a residue that resists water-based cleaners and smears rather than lifts when you rub it with a dry cloth.
The Safety Angle
A windscreen that delivers sharp, undistorted vision is a non-negotiable safety factor. Research into night-driving glare shows that even minor light scatter from surface contamination can increase driver reaction time by measurable fractions of a second. The haze doesn’t need to be thick to be dangerous; it just needs to be uneven.
Common Mistakes That Make the Problem Worse
Well-intentioned cleaning attempts often compound the issue. Recognise these patterns before you reach for a spray bottle.
1. Using Household Glass Cleaners Without Pre-Cleaning
Ammonia-based or alcohol-based sprays are effective at removing water-soluble grime, but they struggle to break down the glycerine-heavy layer if applied directly. The solution flows over the film, dissolving only the lightest surface elements, and the mechanical action of a dry cloth spreads the underlying residue into fine streaks that are more visible at night than the original haze.
2. Single-Step Wiping
One pass with a microfiber towel seems logical, but each stroke re-deposits a fraction of the lifted residue further along the glass. Without a multi-step sequence—first lift, then capture—you’re essentially polishing the film into a thinner, harder-to-see layer that remains optically active.
3. Cleaning Cold Glass
Cold glass accelerates the re-condensation of moisture from cleaning solutions before they can work. The result is a surface that looks clear when wet but dries into a patchy veil. If you’ve cleaned your windscreen on a chilly morning only to have it fog and streak the moment you drive into the sun, temperature differential was a likely contributor.
4. Overlooking Ventilation Paths
Residue doesn’t only settle on the glass you look through. It deposits inside defroster vents, on dashboard surfaces, and on the headliner near the driver’s seat. Subsequent use of the blower fan can re-entrain dried particles and re-coat the glass within days. Cleaning the glass while ignoring the surrounding environment is a cycle of frustration.
A Proven, Step-by-Step Method for Vape Residue Removal
This method is adapted from techniques used in automotive detailing for removing polymer-based interior films. It does not rely on specialised equipment, but it does require patience and the right sequencing.
What You’ll Need
Two clean, high-quality microfiber cloths (one for wet work, one for final buffing)
A spray bottle of distilled water
Isopropyl alcohol (70% concentration or higher)
A small amount of mild liquid dish detergent
A squeegee (optional, but highly effective for large surfaces)
Access to a shaded, well-ventilated location
Step 1: Ventilate and Cool the Cabin
Open all doors for a few minutes to equalise interior and exterior temperatures. If the glass is hot from sun exposure, let it cool naturally. A surface that feels warm to the back of your hand will cause cleaning fluids to flash-evaporate unevenly, leaving solvent streaks.
Step 2: Dry Wipe with a Dedicated Microfiber
Using a clean, dry microfiber cloth, gently wipe the entire glass area. The goal is not to remove the film but to pick up loose dust and larger particles that would otherwise act as an abrasive in the next step. Fold the cloth frequently to expose a fresh face.
Step 3: Apply the Cleaning Solution
Mix a solution of one part isopropyl alcohol to three parts distilled water, plus a single drop of liquid dish detergent per 500ml of total liquid. The alcohol breaks the hydrogen bonding that gives glycerine its cling; the detergent acts as a surfactant to lift non-polar residues. Spray the mixture liberally onto the glass—enough that it wets the surface without running down into the dashboard electronics.
Allow the solution to dwell for 30 to 45 seconds. This dwell time is critical. The alcohol needs time to penetrate the film, not just sit on top of it. If the glass begins to dry before you agitate, spray again.
Step 4: Agitate with a Microfiber, Then Squeegee
Work the solution across the glass using the wet microfiber cloth, applying moderate pressure in overlapping circular motions. You’ll feel the cloth start to drag slightly as the residue begins to lift.
Immediately follow with a squeegee if you have one—vertical strokes, overlapping by about 30%, wiping the blade between passes with a clean rag. If you don’t have a squeegee, use the second, completely dry microfiber cloth to remove the solution before it can dry. The trick is to remove the fluid while it still carries the suspended residue; allow it to evaporate, and you’ve just re-deposited the film.
Step 5: Final Buff with Alcohol (Optional but Recommended)
For heavy buildup, dampen a corner of the clean microfiber with pure isopropyl alcohol and wipe a small test patch in a corner. If the cloth picks up visible yellowing or feels grippy against the glass, repeat the alcohol-wipe over the entire surface, always finishing with a dry cloth to remove any remaining solvent.
Step 6: Clean Surrounding Surfaces
Wipe down the top of the dashboard, the steering wheel, and the inside of the defroster vents with a damp microfiber and a tiny amount of mild all-purpose cleaner. Even a brief pass reduces the reservoir of particles that will otherwise float back onto the glass during the next drive.
Prevention: Setting Up Your Vehicle to Minimise Recurrence
Cleaning the glass is only half the battle. A few changes to how you use your device in the car can extend the interval between thorough cleanings by weeks.
Crack a Window, Even Slightly
Airflow is the simplest control mechanism. Negative cabin pressure draws aerosol out rather than allowing it to circulate. A gap of just a centimetre in the driver’s window, combined with the ventilation fan set to draw fresh air from outside, can reduce deposition rates noticeably.
Direct the Airflow Thoughtfully
Configure your vehicle’s ventilation to direct air toward the footwell and away from the windscreen when you’re using the device. Defroster vents pointed at the glass create a cooling effect that promotes condensation of droplets exactly where you don’t want them.
Choose Devices with Consistent Output
From a purely engineering standpoint, devices that deliver stable, predictable heating cycles tend to produce fewer of the oversized droplets that settle rapidly. When the ALIBARBAR INGOT or Ice Adjust series is used within its designed operating range, the aerosol particle size distribution stays within a band that is less prone to immediate dropout. While no device eliminates deposition entirely, units sourced through authorised channels—such as those available from OZVAPE Shop—give you the confidence that the thermal management has been calibrated as the manufacturer intended, reducing the unpredictability that can lead to excessive window film. This is not about one brand being “better”; it’s about transparent specifications and factory-certified supply lines that align with what engineers designed the device to do.
Consider a Glass Coating
Polysiloxane-based glass sealants, commonly used in detailing, can alter the surface energy of the windscreen, making it less receptive to the initial adhesion of glycerine-laden droplets. A single application lasts several months and makes future cleaning noticeably easier. However, apply such coatings only to glass that is already perfectly clean, or you’ll seal the residue in place.
Frequently Asked Questions
Q: Can I use vinegar instead of isopropyl alcohol?
A: White vinegar is a mild acid that can assist with mineral deposits, but it does not effectively break down the humectant film left by propylene glycol and vegetable glycerine. Isopropyl alcohol is the more appropriate solvent for this specific residue.
Q: How often should I clean my car windows if I use a device daily?
A: Under typical conditions—daily use, windows up, average commute—an interior glass cleaning every two to three weeks prevents perceptible haze. Drivers who routinely crack a window may go a month or longer between full cleanings.
Q: Will window tint be damaged by isopropyl alcohol?
A: Most high-quality automotive tints are resistant to occasional contact with diluted alcohol, but prolonged saturation or aggressive scrubbing can degrade the adhesive layer along the edges. Always test on an inconspicuous corner first and avoid letting liquid run down into the seal at the base of the glass.
Q: Is this residue harmful to breathe or touch?
A: The residue is not classified as hazardous in the small quantities present on car glass. That said, it can act as a mild irritant for individuals with sensitive skin or respiratory conditions if disturbed and resuspended as dust. Regular cleaning reduces that potential.
Q: Why does the film seem worse on cold mornings?
A: Cold glass lowers the dew point of the cabin air. Moisture condenses onto existing residue, causing the film to swell and scatter light more aggressively. That’s why the haze can appear dramatically worse in winter even if the underlying deposit hasn’t changed.
Q: Can I use paper towels instead of microfiber?
A: Paper towels break down when wet and leave behind lint. More importantly, they lack the split-fibre structure of a microfiber cloth, which is designed to trap lifted residue in the fiber matrix rather than pushing it across the glass. Microfiber is strongly preferred.
Q: I’ve tried all these steps and the glass still streaks. What now?
A: Consistent streaking after following the method usually indicates that residue has been baked onto the glass by prolonged sun exposure, forming a semi-cured layer. In that case, a dedicated automotive glass polish containing cerium oxide, applied by hand or with a random-orbital buffer, can mechanically remove the bonded film. This is a detailing procedure best performed by someone familiar with pad and polish selection.
Q: Do certain device types produce more residue than others?
A: The amount of residue deposited is influenced more by usage style, cabin ventilation, and the device’s thermal consistency than by broad category labels. Units with stable power delivery—such as those within the ALIBARBAR range that OZVAPE Shop supplies with documented provenance—tend to operate within a predictable aerosol output band, which helps avoid the heavy, intermittent droplets that create obvious hotspots on glass. The difference is subtle, but it matters over weeks of daily use.
Clarity Is a Habit, Not a Product
That streaky windscreen isn’t a sign you’re doing something wrong—it’s a predictable outcome of physics, chemistry, and a small enclosed space. Once you understand the mechanism, the remedy is neither expensive nor time-consuming. A bottle of isopropyl alcohol, a pair of microfibers, and ten minutes in the shade will return your glass to optical clarity. The more lasting win is adjusting your cabin routine so that you’re cleaning every month rather than every week.
Ultimately, the devices you choose and the channel through which you acquire them are part of that equation. When a product arrives with consistent engineering, backed by a transparent supply chain—the kind of traceability that OZVAPE Shop maintains for every ALIBARBAR unit it ships—you’re not left guessing about thermal behaviour or output characteristics that might quietly worsen the very residue problem you’re trying to manage. The right information, like a clear windscreen, lets you see the road ahead without distraction.